Here are some tips to help you fix your broken charger cord. Read on to learn how to clean a loose USB port, identify a blown fuse, and use a soldering iron to repair the problem. If none of these methods work, you can always try the other methods below. And remember, you should always be very careful when performing any repairs yourself. Always use a soldering iron only if you are absolutely sure that the break is your fault.
Repairing a broken charger cord
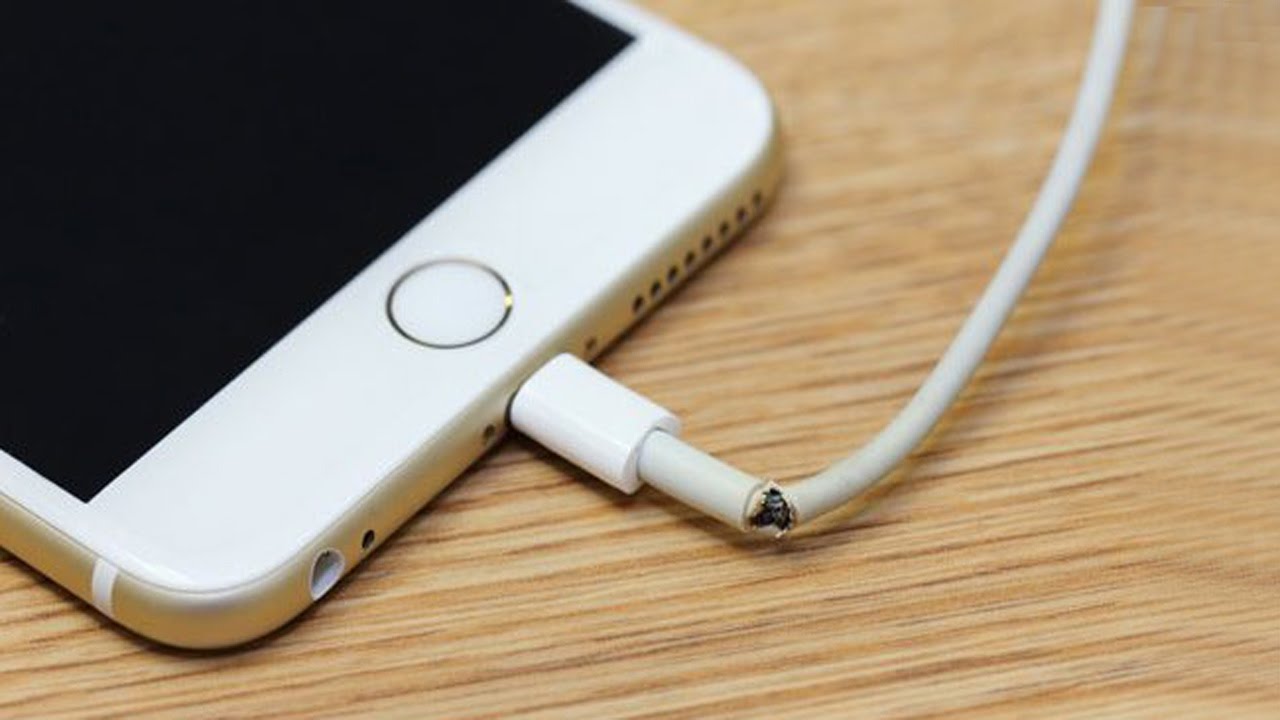
If you have a cracked charger cord, you should first check whether the cord is still usable. If not, you can try to patch the broken portion with electrical tape. You should carefully hold the cord and the broken area using a piece of baking paper to prevent burning yourself. If the damaged area of the cord is beyond repair, you should seek a repairman’s help. In case you’ve broken the cord entirely, you can try to patch it with electrical tape.
If the breakage occurred inside the charging cable, you can try to repair it yourself. Heat shrink tubing can be a great solution for repairing broken cords. It works by shrinking the connector. All you need is a heat gun. Ensure that you fit the cable head and the cord before applying heat to the parts. Once the shrinking process has been completed, you can reconnect the cord and the charging head.
Cleaning a loose USB port
If you’re having problems charging your phone, it’s possible that the USB port is clogged with lint and dust. To remove this, you can use a sewing needle, or use compressed air. Be sure to be gentle, though, as you could damage the port contacts. The next step in cleaning a loose USB port is to check for a broken or bent part.
Clean the USB port by using compressed air or a shaved toothpick. Be sure to avoid poking the port too deeply, as this could damage the circuit. Also, make sure that the device is turned off so that you can avoid accidentally pushing it into the port. Another tip is to use a small piece of tape over the USB port when not in use. You can also use a plug to keep out debris.
Identifying a blown fuse
When fixing a broken charger, identifying a blown fuse is crucial. This electrical component will cut off power when it detects a surge, fault, or problem. A blown fuse can cause a power outage throughout your entire home. In many cases, a blown fuse can be the result of a dodgy light fixture or an overloaded circuit. To identify a blown fuse, try switching one appliance on at a time. You can also look for damaged plugs and outlet connections, or even a fuse box issue.
A multimeter can be used to check the resistance of the fuse. Remove the fuse from the housing or fuse box and place the probes on both ends of the fuse. The resistance of the fuses should be close to zero. If the reading is high, the fuse is blown and needs to be replaced. Once the fuses are removed, follow the manufacturer’s instructions. The charger should work correctly now.
Using a soldering iron
If you’re looking to repair your phone, tablet, or laptop, then you may have been wondering how to use a soldering iron. The process of soldering involves melting a copper wire over another metal part. This process is commonly used in jewelry-making and metalsmithing projects. It’s also used to repair broken chargers and other electronic devices. The soldering iron has a heated element at the tip that melts the copper wire together. This device is typically powered by mains electricity or a battery.
Before using a soldering iron, you must first bring the iron to a suitable temperature. Then, you’ll need to dip a small paint brush in flux and brush the exposed wires with it. Next, place the soldering iron tip against the wires, and gently press the wires together. When the solder is completely melted, the wires should mate securely.