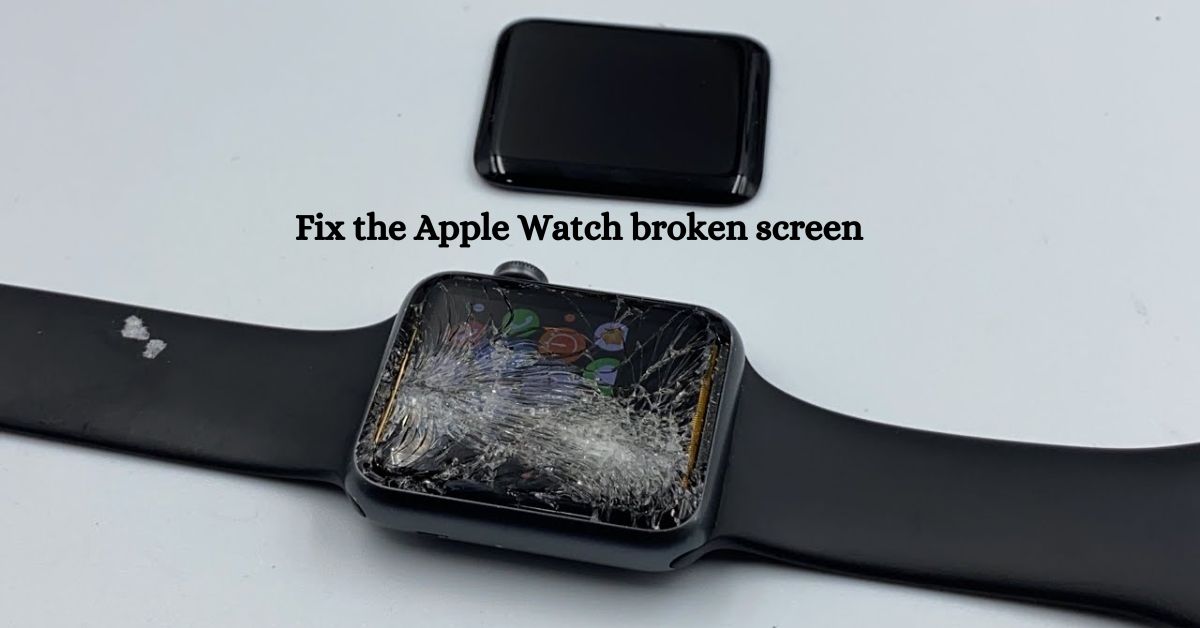
How to fix my Apple watch broken screen: Breaking the screen on any device is annoying – although one of the worst devices to have a broken display screen may be the Apple Watch. Those watches are extremely difficult to restore and restore. However, if you take the right precautions. It is completely possible to restore a damaged Apple Watch display screen at home.
How to repair Apple Watch display at home
There are a few reasons why you might want to restore your Apple Watch’s display screen. It may break, become detached from the watch base, or perhaps become unresponsive at all. The solution to most problems with the Apple Watch involves replacing the OLED display and fused digitizer.
It is possible to reuse an intact digitizer in an Apple Watch that only has a broken or popped-off display screen. Although this isn’t really useful. The digitizer is an incredibly sensitive aspect. It is possible to get around this, as seen on this YouTube educational. But the resulting display will likely have defects.
-
Gather the Right Tools
How to fix my Apple watch broken screen: If you’re wondering how to restore your Apple Watch screen, you’ll be happy to know that it only requires a few tools. First and foremost, you need to purchase a good-sized Apple Watch replacement display that includes an OLED display screen and digitizer. Many of these kits already include all the tools you need – but each required tool is printed below for your convenience:
- Warmth Applicator, including heat gun or hair dryer
- A sharp and unique blade, featuring an X-ACTO. It is recommended to install a blade with a curved aspect
- A delicate and specialized tool, consisting of a 1mm flathead screwdriver
- Tweezers
Y000 driver, if you plan to reinstall the Force Contact Sensor (this is undoubtedly important if your watch fails to detect the contact input correctly)
An electronics adhesive, including E6000 adhesive
-
Heat the Screen Adhesive
After gathering your tools and turning off your Apple Watch, you’re equipped to heat the screen adhesive. Grab your warmth gun or hair dryer and begin slowly applying warmth to your Apple Watch’s display. It is necessary to heat the display screen until it becomes slightly warm to touch. Heating the adhesive will make it easier to remove the display in the next step.
-
Gently Remove the Screen
As soon as the adhesive is hot enough, you are ready to remove the display. Using the curved edge of your blade, apply firm pressure once beneath the seam of the Apple Watch display screen. If you’re using a straight-edged blade, work carefully to make sure you don’t inadvertently scratch the glass. After the glass is up, slide the opening pick out along each edge of the glass to completely split it.
It is important to slide the selection along the entire perimeter of the watch’s display screen, as any retained adhesive may impede your attempt to remove the display. Once you’re finished, gently lift up the bottom edge of the screen. Work very carefully. Although the location depends on your watch version, there may be a cable or set of cables related to the display – and it is important that no cables are broken.
How to fix my Apple watch broken screen: Place your Apple Watch on an extended floor, with the cable portion of the watch positioned directly to the edge. Lift up the display screen and gently pull it to one side without tilting the screen or attempting to break the cable connections. Leave the display screen hanging next to the watch while you continue with the following steps.
-
Uninstall the Apple Watch Battery
Getting rid of the display screen will give you full access to the internal components of your Apple Watch. Depending on your version, you may need to take off some internal components to connect the new display – starting with the battery. Ease the outlet into the seam on the right side of the watch and battery and gently pry it away from the case.
How to fix my Apple watch broken screen: You’ll want to rotate the battery counterclockwise to expose the underlying connector (provided the dial is still on the right, turn it upward). Use a delicate tool (with a plastic prying device or a 1 mm flathead screwdriver) to gently separate the battery from its connector.
In some cases, it is not necessary to turn off the battery. The Apple Watch Series 3 repaired in this tutorial has its show connector under the Taptic Engine cover instead of under the battery. The internal structure of many early Apple Watch models is comparable.
-
Disconnect the Display and digitizer cables
Once you’ve removed the battery, you’re ready to disconnect the show itself. Lift the screen toward the dial and rotate it so that the bottom plane of the glass display is on the left. Use a delicate tool to gently launch the steel bracket that holds the show and digitizer cable in place, lifting it up toward the display screen.
After Using tweezers to secure the bracket in place at the same time you use a miniature 1mm screwdriver to pry it open. Use tweezers to pull the bracket’s quilt closer to the show. Then carefully disconnect the display and digitizer connectors.
-
Remove the Force Touch Sensor
At this point the power contact sensor should still be present – however if it is inadvertently damaged. You will need to remove it completely. You will want to use a Y000 screwdriver to remove the screw holding the pressure contact sensor connector in place. Next, utilize a soothing tool to gently push the cable connector outward and detach it.
Force the touch sensor adhesive with heat to loosen. Then use your blade to gently pry the pressure contact sensor from the case. You can remove any remaining adhesive by applying heat or wiping with a delicate cloth dampened with rubbing alcohol.
-
Install the New Force Touch Sensor
How to fix my Apple watch broken screen: After removing all the glue, you are ready to install the new pressure touch sensor. Place the force contact sensor face down and use tweezers to remove the protective liner. Carefully align the pressure contact sensor with the case and pry it down. So that it sticks in perfect alignment with the watch.
Use a tool to apply tension along the seam of the pressure contact sensor to make sure it is completely attached. Afterwards, gently slide the pressure contact sensor connector into the area using tweezers. Press it gently into the relationship socket. Use a Y000 screwdriver to update the screws that hold the connector in place.
-
Reconnect the Display and Digitizer Cables
After this, you are ready to install your new screen. With the bottom of the watch open, position the display so that the display and digitizer cables are directly aligned with the connector sockets. Push both connectors into position. Then tilt the bracket cover so it rests over the connectors. Apply gentle pressure on the top of the bracket until it snaps into place.
-
Reinstall the Apple Watch Battery
Just like the vintage display screen was previously located. Carefully rotate the screen to the left side of the Apple Watch (opposite the dial) and let it hang next to the watch as you think. Remove the Apple Watch battery and align its cable with the connector socket. Use tweezers to press the cable into the area. Then lightly rotate the battery clockwise (toward you) to align it with the area.
How to fix my Apple watch broken screen: You may want to use a light adhesive (Electronics Adhesive Tab, tesa 61395, liquid E6000 adhesive, or a peel-n-stick adhesive) before proceeding – but first, you need to verify that the watch It works. Try turning on the Apple Watch. If the display is completely usable, continue to the last step – otherwise. You will need to test the cables and accessories to determine why the display output or Touch/Crown Enter is not working.
-
Apply the New Screen
Finally, you are ready to replace the screen. Make sure the display and digitizer cables are not stretched or torn when you put it into position. Once the display is aimed. Press firmly until it snaps into place. Wrap rubber bands around the entire show according to both directions and leave the watch in place for 15 to a half hours until the adhesive has fully adhered.
Read This: How to Select the Best Internet Service Provider?