How to remove Background in Paint and Paint 3D on a Windows laptop: Microsoft recently updated the Paint 3D app with AI-based capabilities that brings the ability to remove legacy images from a photo without the need for any third-party software or app. The updated Paint 3D is now available globally and if you want to try out this selection, here’s how you can do so. Additionally, this feature is available inside the Daily Paint app that comes pre-installed in Windows 11.
Update Paint or Paint 3D app from Microsoft save
How to remove Background in Paint and Paint 3D on a Windows laptop: Open Microsoft Save in your laptop, search for Paint or Paint 3D and then deploy the available mod models. Once the update is done, follow the steps below:
Steps to remove background Using the Microsoft Paint Application
- Open the Paint software and import the photo you want to transform.
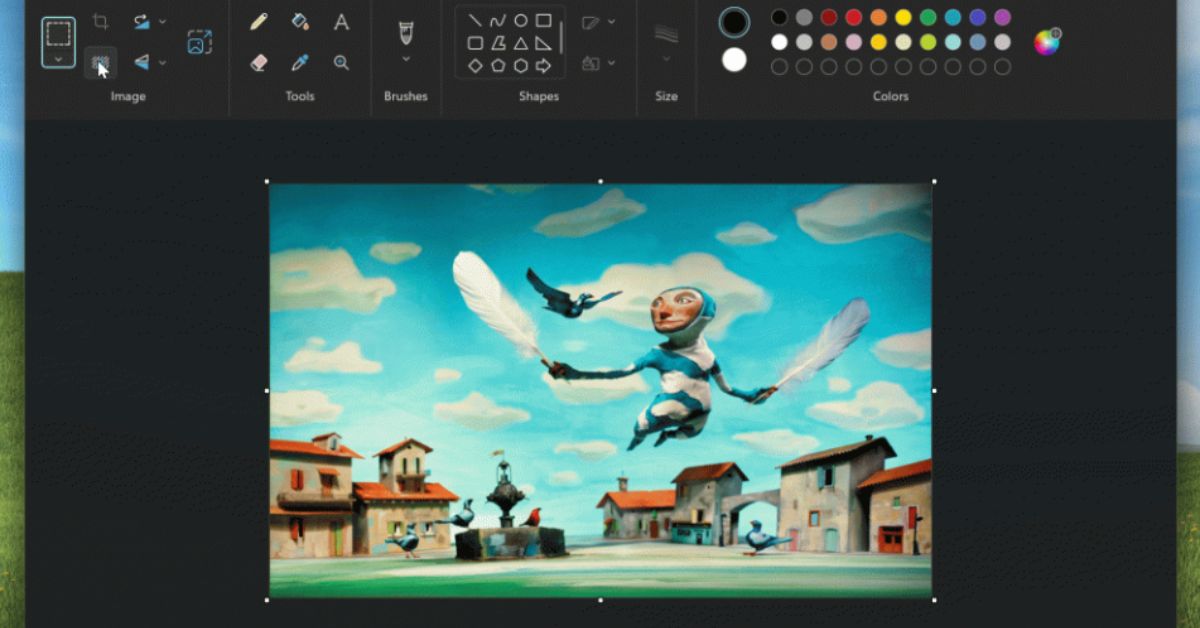
- In the Microsoft Paint app on Windows 11, find the Delete History option in the command bar, showing a picture with a bird.
- When choosing to get rid of heritage, Microsoft Paint uses artificial intelligence to examine and identify factors in the picture, disposing of the background correctly.
- The Microsoft Paint utility displays the edited image without its unique inheritance.
For more precise control, use the selection tool to specify specific areas of the image to remove historical pasting. After selecting your option click on the option to get rid of inheritance.
How to remove Background in Paint and Paint 3D on a Windows laptop: To keep your edited image, navigate to File > Save As, and choose a PNG or JPEG layout. Allocate a name to the file and tap on Save. The Paint application will store the records with transparent inheritance.
Steps to remove the background using the Microsoft Paint 3D application
- Open the Paint 3D utility and import the image to remove history
- In the Paint 3D app on Windows eleven, navigate to the toolbar, rendering a picture with the magic selection option.
- Click on magic select option
- Customize focal point location
- Click on Next to proceed further.
- Preview the cutout to evaluate the accuracy of picture separation. If necessary, use the Add or Delete option inside the top-right corner for the same accuracy.
- Click Done to confirm your selection.
- Now, select the cutout and shift it to the edge of the canvas.
- Use the Choice device to click and drag on the canvas, then press Delete to remove the heritage.
- Select the Canvas option in the toolbar.
- Inside the appropriate pane, activate the Clear Canvas option.
- Drag the cutout back onto the canvas, adjusting its location to align with the picture.
- To save your edited photo, press Ctrl + S, click the image, choose Shop, assign a name to the file, and click Store.
Read This: 5 products Apple is likely to launch in 2024